Part 31: Australia: February 19, 1943
Axis Turn 16: February 19, 1943Fair (Dry)
The last stronghold for the Allies in our sphere of the Pacific is about to fall.
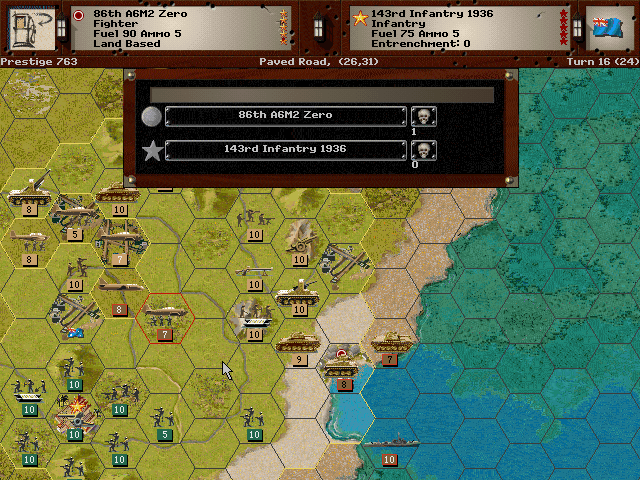
Sydney is secured. Canberra has raised more troops, but it should not take long to fall.
We shore up our line to ensure that the tanks in the west remain cut off from the battle for the cities.
Allied Turn 16: February 19, 1943
Fair (Dry)
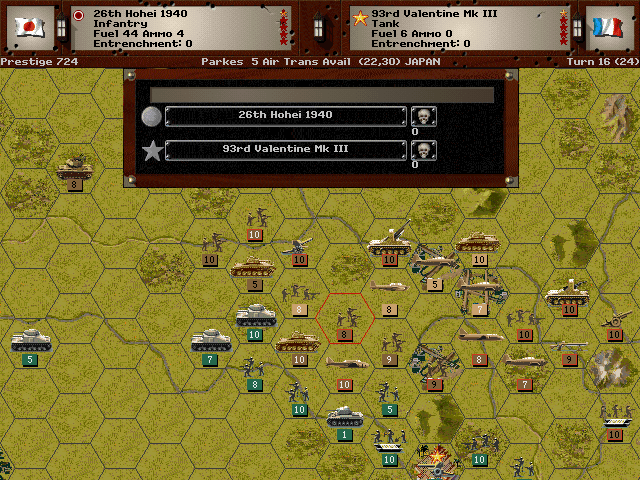
At Adelaide, there is a surprise assault on our infantry, and it goes badly for us. All the tanks appear to be heading this direction as well.
Axis Turn 17: February 19, 1943
Fair (Dry)
Our better forces strike back near Adelaide. We should at least be able to stand our ground here.

We chew through the untrained forces at Canberra and reach the outskirts of the Australian capital city.
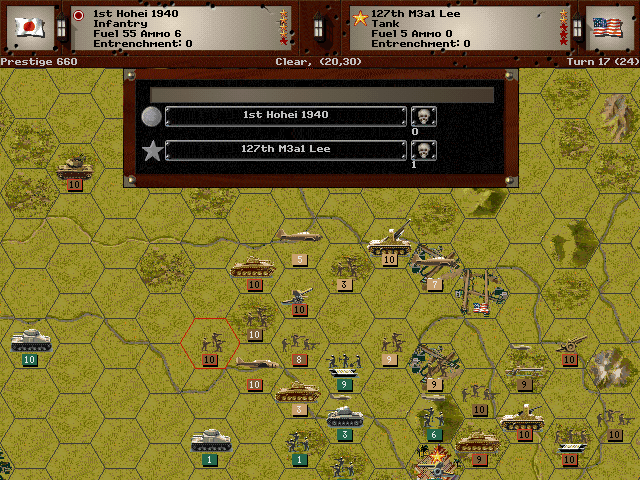
The other troops nearby are being eliminated quickly as well, and that includes the tanks.
Allied Turn 17: February 19, 1943
Fair (Dry)
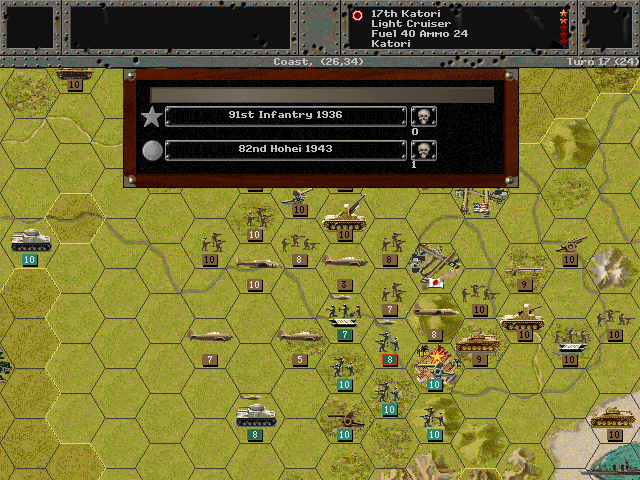
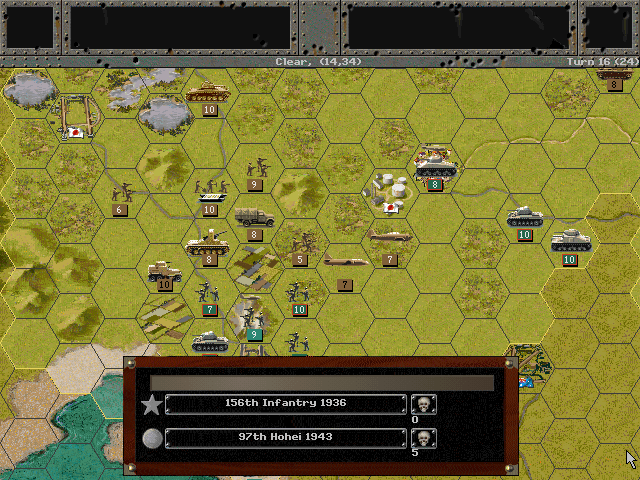
The Australian infantry pull together and hunker down near Canberra.

There is a precarious gap in our lines between the central forces and the western group. A few units threaten to push through, but we should have time enough to keep them from doing any real harm.
Axis Turn 18: February 19, 1943
Fair (Dry)
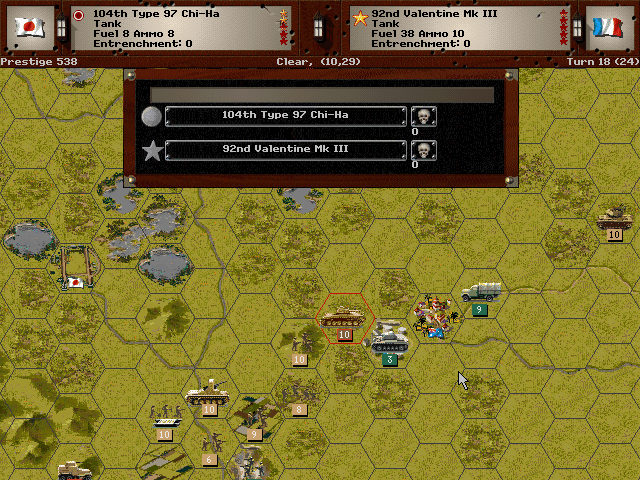
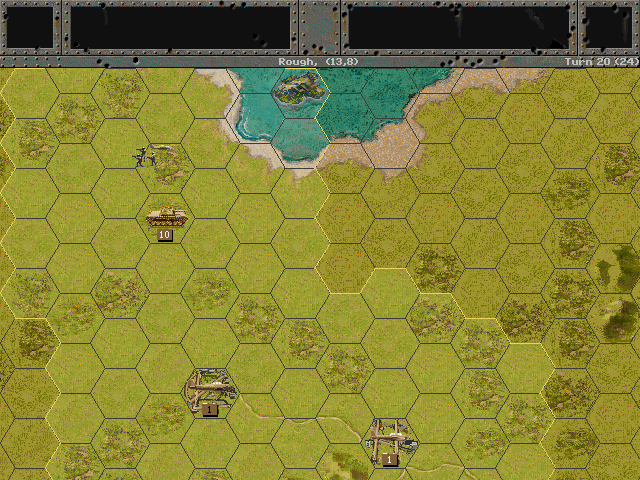
We lessen the pressure on Adelaide and send some armor up to Broken Hill to guard against those tanks.

The remaining troops actually do quite well back at Adelaide.
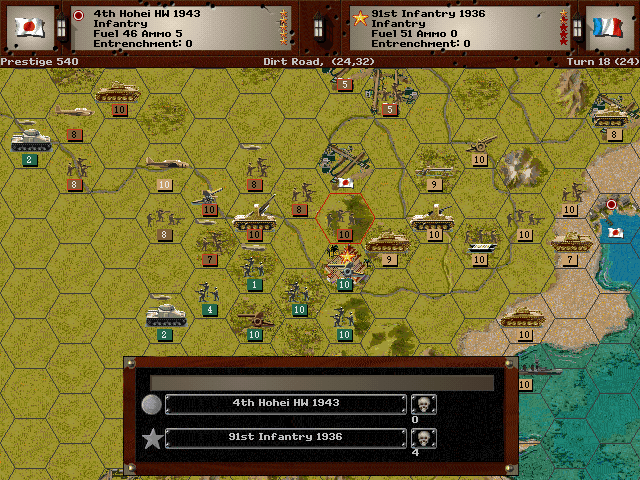
Bombs and constant attacks continue to deplete the forces at Canberra.
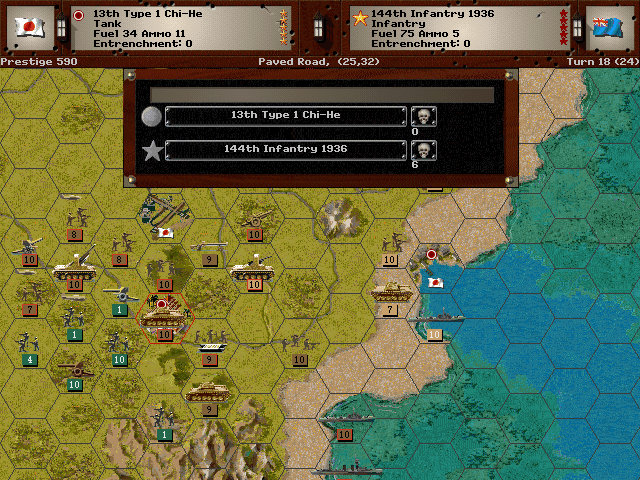
The city itself finally surrenders as there are no effective units left to hold it.
Allied Turn 18: February 19, 1943
Fair (Dry)
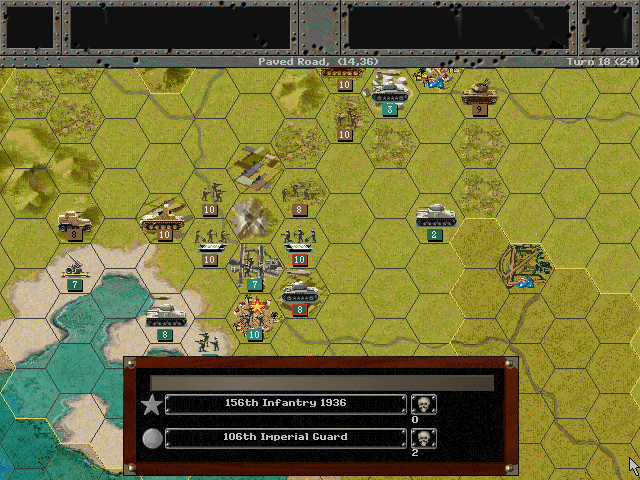
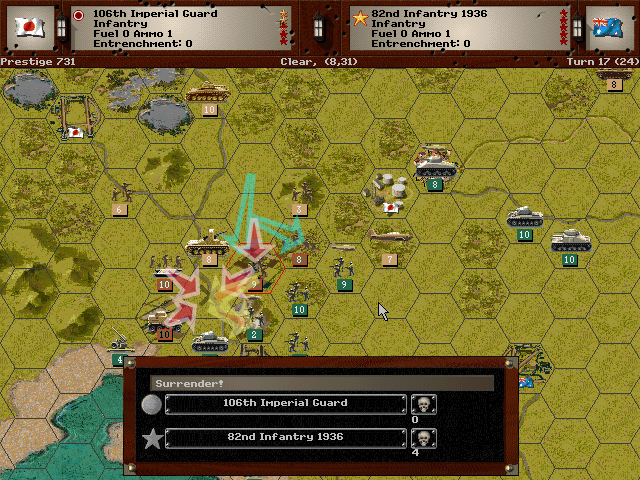
The Imperial Guard isn't well-suited for defense. In intense fighting near Adelaide, the unit shatters.
Axis Turn 19: February 19, 1943
Fair (Dry)
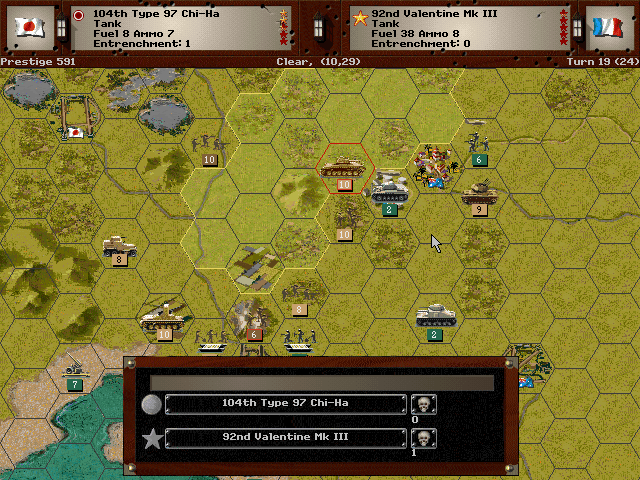
Most of the enemy units in the west have been thrown into chaos.
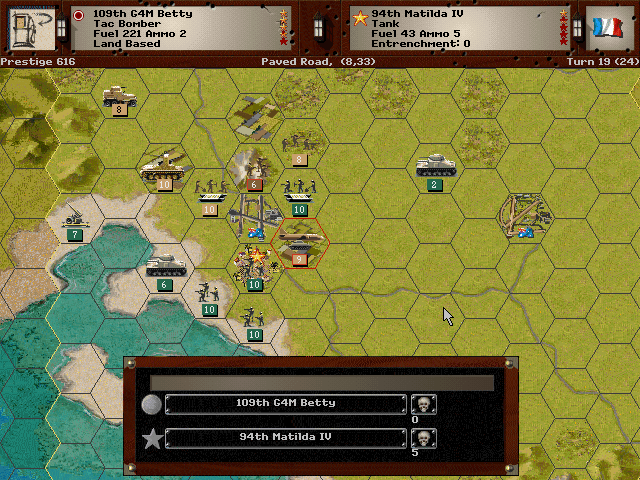
We're getting regular air raids to hit near Adelaide, which is definitely helping us out.
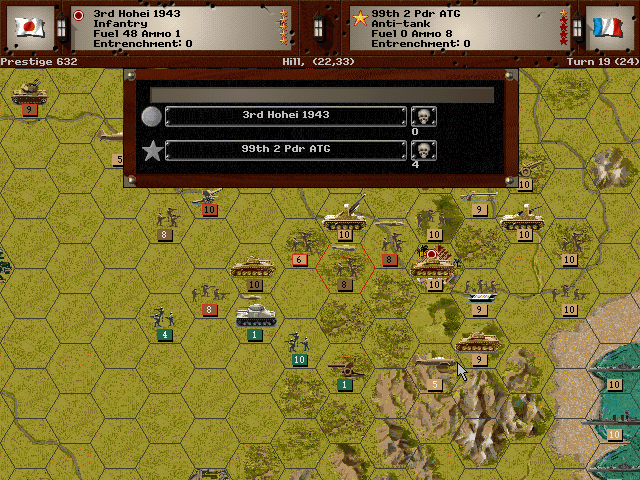
There aren't too many forces left in the center now either.
We cover the gap in our lines as well.
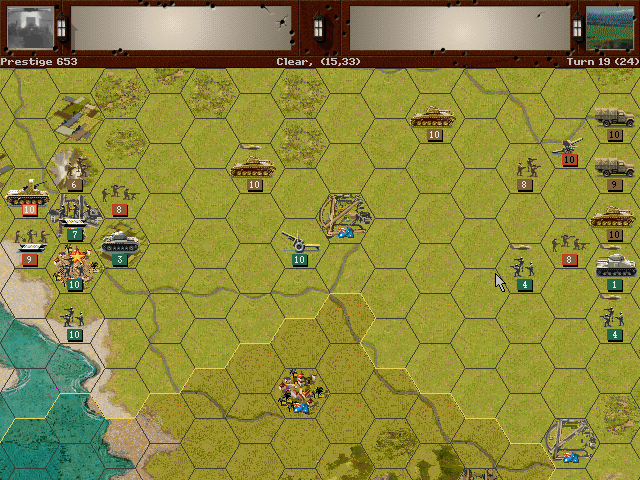
Allied Turn 19: February 19, 1943
Fair (Dry)
No response. The Australians have all but given up.
Axis Turn 20: February 19, 1943
Fair (Dry)
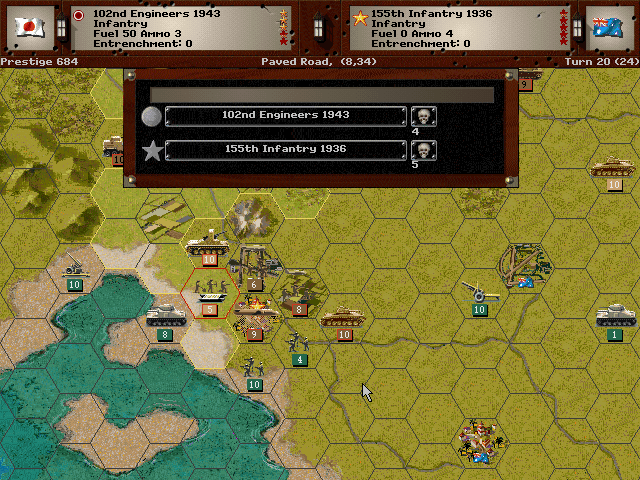
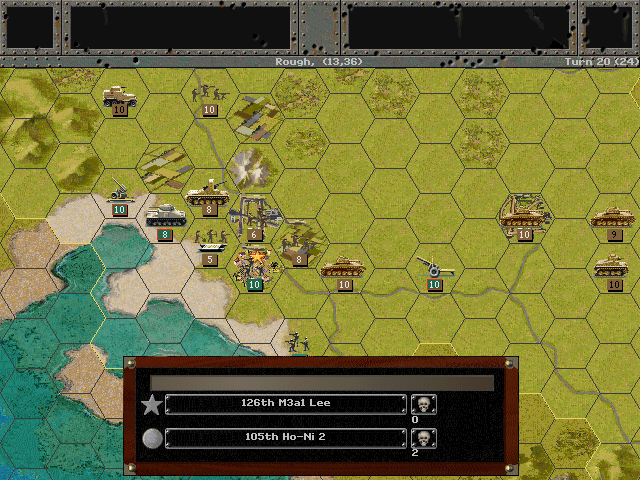
In a bold move, we strike at Adelaide. The Australian lines break and they retreat.
Melbourne turns out to be abandoned. We make it to the beach unopposed.
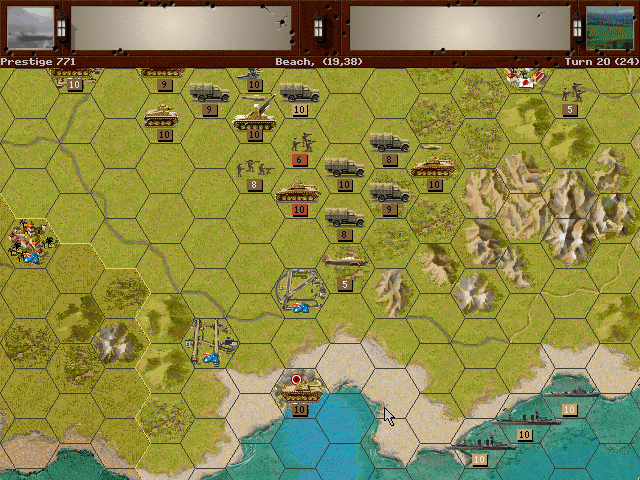
Allied Turn 20: February 19, 1943
Fair (Dry)
There's still that one rebel unit running around in the north, but it's not a threat.
At Adelaide, the infantry regroups in the city as the last of their tanks tries to weaken us from the other side.
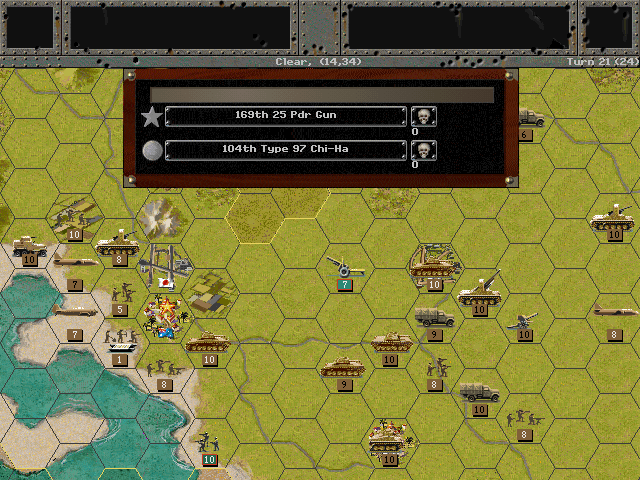
Axis Turn 21: February 20, 1943
Fair (Dry)
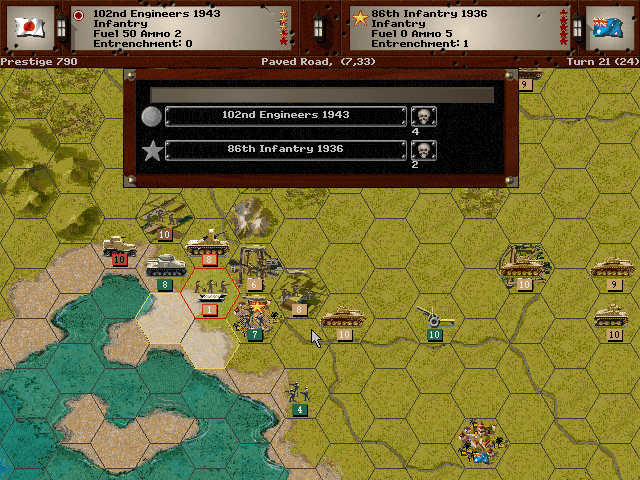
Adelaide is the last holdout. Today they are more prepared for the first assault.
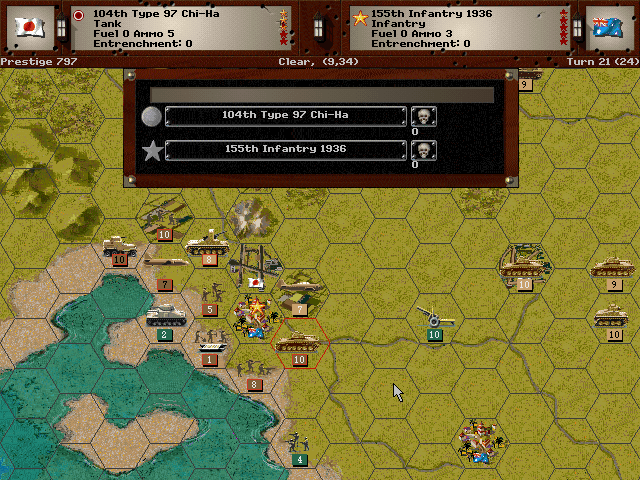
But we have the city surrounded, and they are forced to give up after more attacks.
Allied Turn 21: February 20, 1943
Fair (Dry)
There is one last artillery strike, but in short order, Australia capitulates.
In a somewhat surprising result, this one was over several turns early. I spent a turn or two trying to scrape together a few more prestige points & experience, and then just ended it.
Final Prestige: 1909
Final VP: 1858-904 (Decisive Victory)
Unit Spotlight
Imperial Guards Division (the link is related to a game, but includes a photo and some history of the unit.)
PG Name: Imperial Guard Type: Infantry
Effective Date: 7/40
Value:8 Cost:96 Spot:2 Move:3 MM:Leg Trans:Air Fuel: -
Init:1 SA:8 HA:6 AA:0 NA:1 GD:7 AD:9 CD:0 TT:Soft Ammo:7
Special: Banzai, Guard, Fearless
The Imperial Guards Division had been formed in the late 19th Century as Japan began to modernize its army. Originally composed of samurai, by the time of Japan's militaristic revival they were mostly a ceremonial unit responsible for protecting the emperor. As the need for trained soldiers mounted, the unit was reorganized into several brigades, and they were sent into action around the start of the Pacific War. However, one unit committed such heinous atrocities in Singapore that it led to the entire division undergoing further reorganization, and at the war's end it was dissolved. In 1947 a new police unit was given the name 'Imperial Guard' and tasked with this unit's former role of protecting the imperial family.
In-game analysis: Based on their numbers, these seem to be best employed as shock troopers. They are offensively very powerful for when they appear, but could crumble quickly if asked to hold a position on their own. When they first become available, they are the probably the best infantry value in the game, especially with their special abilities factored in. (Although they actually appear to be unavailable for purchase in the campaign.)
Nakajima Ki-44 "Shoki" (Tojo)
PG Name: Ki-44 Tojo Type:Fighter
Effective Date: 7/43
Value:30 Cost:360 Spot:3 Move:10 MM:Air Trans:No Fuel: 76
Init:6 SA:2 HA:2 AA:14 NA:0 GD:9 AD:12 Ammo:8
The Tojo was developed in 1940 but took several years to enter active service. In a switch from the design philosophy of their other fighters, Nakajima focused on power instead of maneuverability. The result was a plane that served well as an interceptor. Near the end of the war, some of these were used for suicide attacks in which the pilots would deliberately ram B-29 bombers.
In-game analysis: An all-around aircraft with a decent balance of offensive and defensive ability. While at this point in the war the Americans are coming out with superior aircraft, this one stays competitive, or at least not that far behind. I'd consider it a better deal than the Zero for the cost (at least for a land-based force). It doesn't really hold up for much longer, though.
Soryu-class Carrier (2 built)
PG Name: Soryu Type:Carrier
Effective Date: 1/40
Value:47 Cost:720 Spot:3 Move:7 MM:Deep Naval Fuel: 57 Capacity: 4
Init:3 Range:0 SA:3 HA:6 AA:[13] NA:8 DA:0 GD:16 AD:5 TD:12 Ammo:40
This was designed as a carrier from the ground up, within the limitations of the London Naval Treaty. Due to those restrictions, these ships (Hiryu and Soryu) seem a bit compromised, and were especially light on armor. They did however form the basis for all future Japanese carrier designs and conversions. These two notably differed quite a bit despite being of the same 'class', as the Hiryu displaced 2000 more tons than the Soryu. Both were lost in the Battle of Midway.
In-game analysis: I just don't see the reason this one is so expensive. It is merely good. It boasts a high movement rate, and it has a full 4-squadron capacity and comparable naval combat values to the other carriers. However, its air defense is worse, and the modest amount of fuel means that you may not get to take full advantage of the extra speed. Even with unlimited prestige I find no compelling reason to purchase this model.